The following sections walk you through the design process using the Xenium Panel Designer (XPD) on the 10x Genomics Cloud (available globally). The design tool enables standard and advanced workflows.
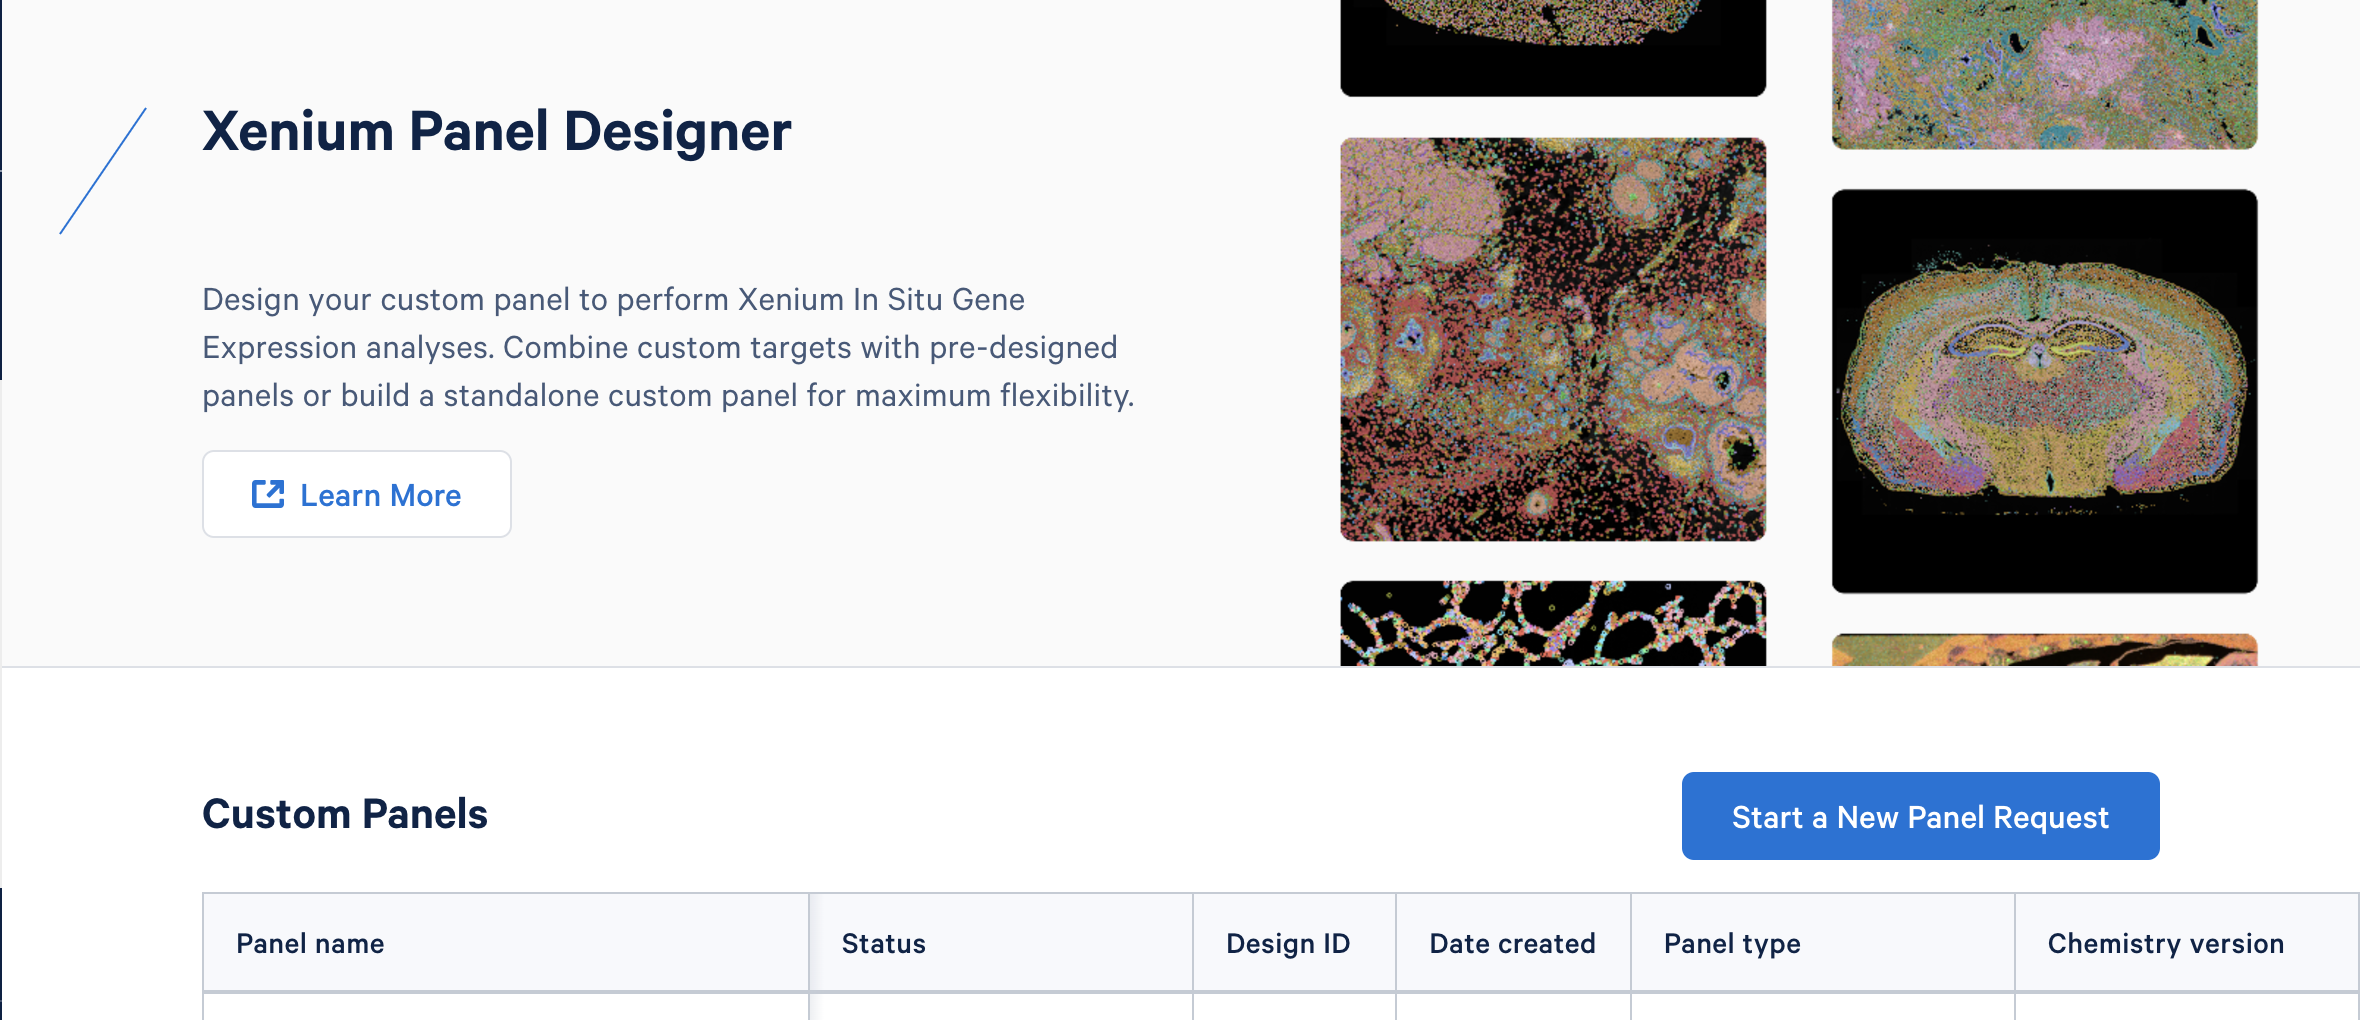
First-time users of the 10x Cloud platform are required to create a new account. If you already have a 10x Cloud account, there is no need to create a new one. To get started, click "Start a New Panel Request".
At any point during the design process, you can save (click "Finish later") and resume work on the panel design at a later time.
Custom panel design options are enabled in the Xenium Panel Designer. Depending on the design type listed below, please follow the steps for either the automated standard workflow or the advanced workflow, during which a 10x bioinformatician will help you finalize the design request.
The table below summarizes the custom panel design options by Xenium In Situ Gene Expression assay chemistry.
- "Xenium v1" refers to experiments customizing v1 panels and following either the Xenium In Situ Gene Expression - Probe Hybridization, Ligation & Amplification User Guide (CG000582) or the Xenium In Situ Gene Expression with Cell Segmentation Staining User Guide (CG000749).
- "Xenium Prime 5K" refers to experiments customizing Xenium Prime 5K panels and following the Xenium Prime In Situ Gene Expression with optional Cell Segmentation Staining User Guide (CG000760).
| Panel types | Xenium v1 | Xenium Prime 5K |
|---|---|---|
| Add up to 100 custom human or mouse genes to a pre-designed panel | Standard workflow | Standard workflow |
| Request a standalone custom panel with up to 480 custom human or mouse genes | Standard workflow | |
| Add up to 100 custom genes, including advanced custom targets, to a pre-designed panel † | Advanced workflow | Advanced workflow |
| Request a standalone custom panel with up to 480 genes, including advanced custom targets † | Advanced workflow | |
| Request a species standalone custom panel with up to 480 non-human/non-mouse genes and/or advanced custom targets † | Advanced workflow |
† The 100- and 480-target limits are additive. For example, if a custom design request includes additional human genes for a 10x pre-designed human panel + advanced target genes (i.e., gene isoforms), the combined total should not exceed 100 targets.
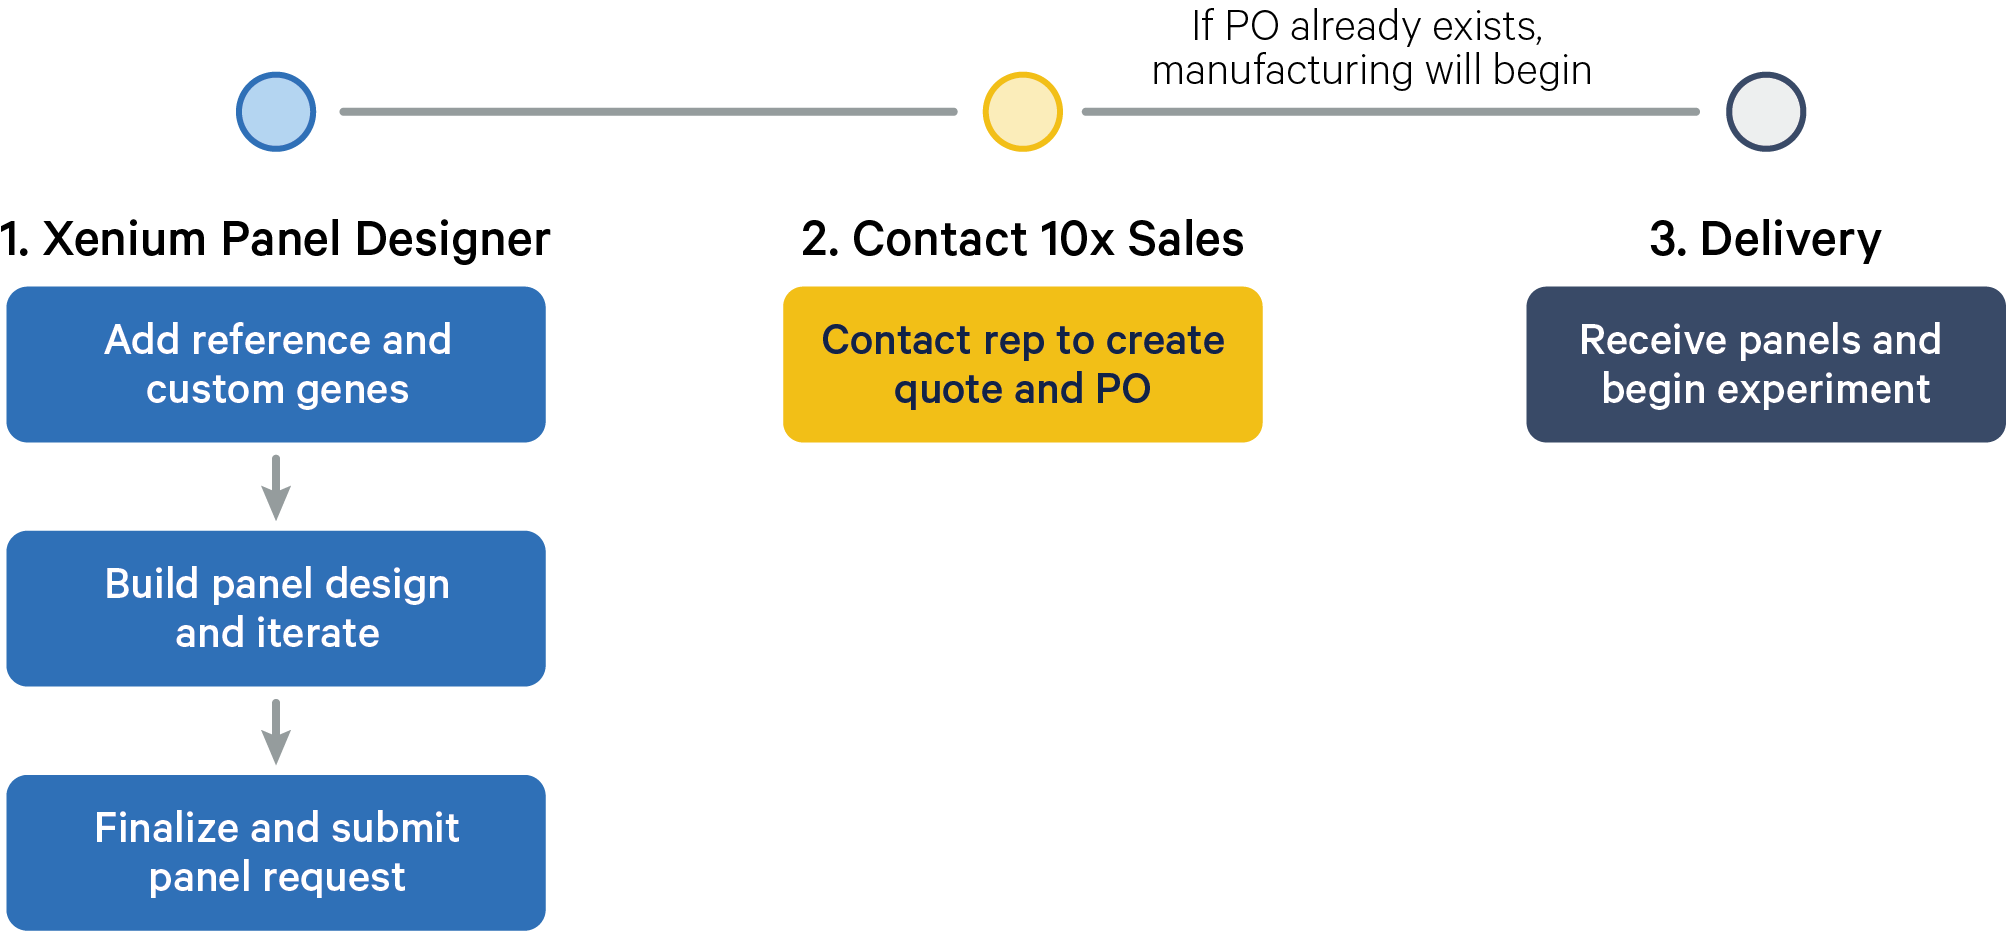
This workflow is automated so you can finalize designs on your own in the Xenium Panel Designer if you are requesting an add-on custom gene panel that complements a 10x pre-designed panel or a standalone custom gene panel for:
- Human or mouse
- Standard genes (defined as genes in the human GRCh38 or mouse GRCm38 transcriptome references)
Follow the design tool steps to add sample and input information. Click on the links to learn more about each step in the Xenium Panel Designer.

| App step | Details |
|---|---|
| Add Sample Info | Add sample information. For this workflow, be sure to check "Standard genes (e.g. genes in the GRCh38 or mm10 transcriptome)" for the target type. Learn more here. |
| Select Panel Type | Select either the pre-designed panel you wish to build upon with add-on custom genes or standalone custom panel. Next, select the number of custom genes you would like to include in the custom panel. |
| Provide Reference | Learn about single cell reference input options and formats here. |
| Provide Genes | Learn about gene list options and format here. |
| Review Recommendations | Once the input steps are completed, review recommendations from the panel design summary provided by the design tool for your panel design. Modify or proceed with the design. |
| Review and Finish | When you are satisfied with the results, finalize the design. Contact your sales representative with the design ID to request a quote to start the panel ordering process. |
This workflow enables you to submit a request for species standalone or advanced custom panel designs. Our 10x Support teams will work with you to review and finalize the panel design; you will not be able to finalize these panel design types within the Xenium Panel Designer on your own.
Start by contacting your sales representative to order an Advanced Panel Upgrade and generate a unique design ID to track your panel through the design process. If you do not know your sales representative, please contact customerservice@10xgenomics.com. Advanced Panel Upgrade parts are listed on the part number pages (v1, Xenium Prime 5K)
These design requests may include:
- Non-human / non-mouse species (including multi-species samples)
- Advanced custom targets
Follow the design tool steps to add sample and input information. Click on the links to learn more about each step.

| App step | Details |
|---|---|
| Add Sample Info | Add sample information. The three pieces of information that prompt the advanced workflow are having a design ID associated with an Advanced Panel Upgrade from your sales rep, and either selecting "Other" for species and/or selecting advanced target(s). Learn more here. |
| Select Panel Type | Select either the pre-designed panel you wish to build upon with add-on custom genes or standalone custom panel. Next, select the number of custom genes you would like to include in the custom panel. |
| Provide Reference | Learn about single cell reference input options and formats here. |
| Provide Genes | Learn about gene list options and format here. |
| Upload Sequences | First, create files to specify advanced custom target sequence information (tutorials available here). Then, upload applicable FASTA and CSV files to the Xenium Panel Designer. The upload steps and file formats are described here. |
| Review and Finish | After you submit the request in the design tool, our support team will be notified (see next steps). |
Next, 10x bioinformaticians will share and discuss the panel design summary results with you to fine-tune custom designs before they are finalized. A few rounds of review and discussion are typically required to finalize a high quality panel.
When you are satisfied with the results, 10x support will finalize the design. You will be able to go to the Xenium Panel Designer tool entry associated with your request to view the final design and download output files.
Xenium Panel Designer leverages NUPACK in the panel design process, which was developed in part with funding from NSF and NIH.